

")
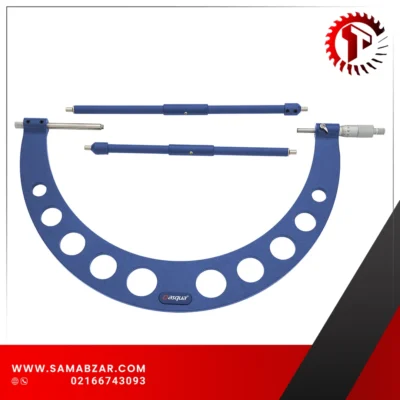
| مشخصات کالا | کد کالا | سایز | دقت |
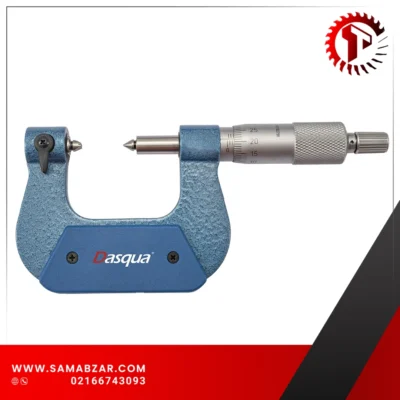
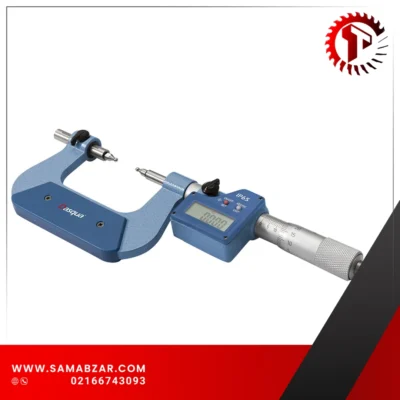
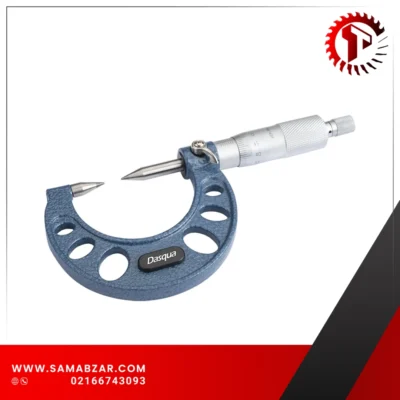
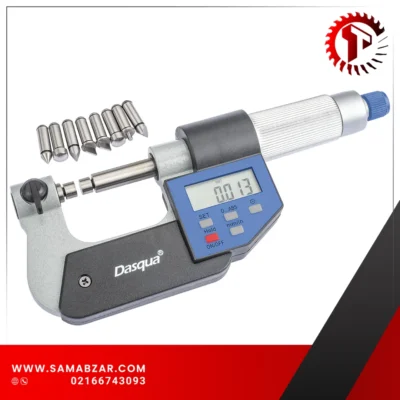
| میکرومتر دیسکی | 4111-8102 | 0-25mm | 0/01mm |
| میکرومتر دیسکی | 4111-8104 | 25-50mm | 0/01mm |
| میکرومتر دیسکی | 4111-8106 | 50-75mm | 0/01mm |
| میکرومتر دیسکی | 4111-8108 | 75-100mm | 0/01mm |
| میکرومتر دیسکی | 4111-8620 | 100-125mm | 0/01mm |
| میکرومتر دیسکی | 4111-8625 | 125-150mm | 0/01mm |
| میکرومتر دیسکی | 4111-8630 | 150-175mm | 0/01mm |
| میکرومتر دیسکی | 4111-8635 | 175-200mm | 0/01mm |
| میکرومتر دیسکی (بدون چرخش) | 4111-8640 | 200-225mm | 0/01mm |
| میکرومتر دیسکی (بدون چرخش) | 4111-8645 | 225-250mm | 0/01mm |
| میکرومتر دیسکی (بدون چرخش) | 4111-8650 | 250-275mm | 0/01mm |
| میکرومتر دیسکی (بدون چرخش) | 4111-8655 | 275-300mm | 0/01mm |
تنظیم صفر (Set Zero)
تنظیم نقطه صفر:
پیش از تنظیم صفر، سطوح اندازهگیری پراب و پیچ میکرومتر را با یک پارچه نرم یا دستمال کاغذی تمیز کنید. سپس با استفاده از دستگاه اعمال نیرو، دو سطح اندازهگیری را بههم تماس دهید.
اگر خط صفر روی پوسته متحرک (درام میکرومتر) با خط صفر روی پوسته ثابت همراستا نباشد، از روشهای زیر برای تنظیم صفر استفاده کنید:
-
اگر خطای مشاهدهشده روی استوانه تقسیمات کمتر از ۰٫۰۲ میلیمتر (یعنی کمتر از دو تقسیم از خطوط مدرج است)، با استفاده از مکانیزم قفل، درام را قفل کرده و با آچار، پوسته ثابت را بچرخانید تا خطوط صفر با یکدیگر همراستا شوند.
-
اگر خطا بیش از ۰٫۰۲ میلیمتر باشد (بیشتر از دو تقسیم)، ابتدا پیچ میکرومتر را با مکانیزم قفل ثابت کنید، سپس با آچار، دستگاه اعمال نیرو را شل کنید و استوانه متحرک را جدا نمایید. پوسته ثابت و خط صفر استوانه را با یکدیگر تنظیم کرده و سپس قطعات را دوباره بهدرستی مونتاژ نمایید.
در مدلهایی با بازه اندازهگیری بیش از ۲۵ میلیمتر، از واحد مرجع استاندارد (بلوک کالیبراسیون) برای بررسی موقعیت صفر استفاده کنید و در صورت نیاز، از همین روش برای تنظیم مجدد صفر استفاده نمایید.
دستورالعمل استفاده از میکرومتر مکانیکی
نحوه استفاده:
پیش از استفاده، ابتدا دو سطح اندازهگیری میکرومتر را کاملاً تمیز کنید.
سپس با چرخاندن دستگاه اعمال نیرو (مانند جغجغه یا درپوش اصطکاکی)، دو سطح اندازهگیری را بهطور کامل به هم تماس دهید.
اگر بازه اندازهگیری بیشتر از ۲۵ میلیمتر است، از میله کالیبراسیون یا بلوک گیج با اندازه مناسب بین دو فک استفاده کنید.
در این حالت، تماس بین سطوح باید کاملاً بدون فاصله یا عبور نور باشد. همزمان باید خط صفر روی درام (استوانهی تقسیمات) و پوسته ثابت نیز تقریباً در یک راستا قرار داشته باشند.
هنگام چرخاندن دستگاه اعمال نیرو، درام میکرومتر باید نرم و روان روی پوسته ثابت حرکت کند و نباید دچار گیر یا خشکی باشد.
پیش از شروع اندازهگیری، سطح قطعه موردنظر را از هرگونه گردوغبار پاک کنید، چراکه وجود ذرات میتواند باعث کاهش دقت اندازهگیری شود.
هرگز از میکرومتر برای اندازهگیری سطوح زبر یا ساینده استفاده نکنید، زیرا باعث آسیب دیدن سطوح دقیق فکها میشود.
در هنگام اندازهگیری، پیچ میکرومتر را تنها از طریق درپوش جغجغهای بچرخانید تا فشار اندازهگیری یکنواخت و استاندارد حفظ شود.
شنیدن صدای “کلیک” به این معناست که فشار مناسبی اعمال شده و میتوان مقدار را قرائت کرد.
تغییر فشار اندازهگیری ممکن است باعث ایجاد خطای قابل توجه در نتیجه شود، بنابراین فشار باید یکسان باشد.
هنگام اندازهگیری، جهت پیچ میکرومتر باید با جهت ابعاد قطعه همراستا باشد.
بهعنوان مثال، هنگام اندازهگیری قطر خارجی، پیچ میکرومتر باید عمود بر محور قطعه باشد و نباید زاویهدار یا کج قرار گیرد.
برای ایجاد تماس دقیق بین فکها و سطح قطعه، میتوانید میکرومتر را کمی بچرخانید و همزمان بدنه آن را بهآرامی تکان دهید.
توصیه میشود مقدار اندازهگیری را در حالی که قطعه هنوز داخل میکرومتر است بخوانید.
اگر لازم باشد قطعه را قبل از خواندن بیرون بکشید، ابتدا پیچ میکرومتر را قفل کرده و سپس قطعه را بهآرامی خارج نمایید تا از سایش سطوح فک جلوگیری شود.
هنگام خواندن مقدار از روی میکرومتر، دقت کنید تا بهاشتباه ۰٫۵ میلیمتر خطا نکنید (که در قرائت استوانهای رایج است).
همچنین، از اندازهگیری قطعاتی که دمای بالایی دارند خودداری کنید، زیرا اختلاف دما باعث ایجاد خطای اندازهگیری میشود.
Set Zero Procedure
Set Zero:
Before setting the zero point, clean the measuring surfaces of both the probe and the micrometer screw using a soft cloth or tissue. Bring the two measuring surfaces into contact using a force measuring device.
If the zero line on the micrometer barrel does not align with the zero line on the fixed sleeve, follow the procedure below:
-
If the error on the thimble is within 0.02 mm (i.e., within two divisions on the engraved scale of the thimble), lock the thimble using the locking mechanism, and rotate the fixed sleeve with a wrench until the zero lines align.
-
If the error exceeds 0.02 mm (i.e., more than two divisions off), lock the micrometer screw with the locking mechanism, then use a wrench to release the force measuring device, remove the thimble, realign the fixed sleeve and the zero line on the thimble, and reassemble the components properly.
For micrometers with measuring ranges over 25 mm, use a standard reference block to check the zero position. If necessary, follow the same method described above to reset the zero.
Micrometer Usage Instructions
Usage:
Before use, both measuring surfaces of the micrometer should be thoroughly cleaned. Rotate the force measuring device (ratchet or friction sleeve) so that the two measuring faces come into contact.
If the upper measuring range exceeds 25 mm, insert a calibration rod or a corresponding size gauge block between the two anvils.
Ensure that the contact surfaces are perfectly aligned—without any gaps or visible light passing through. At the same time, the zero mark on the thimble and the fixed sleeve should be approximately aligned.
When rotating the force measuring device, the thimble should move smoothly along the fixed sleeve without any stiffness or obstruction.
Before performing a measurement, clean the surface of the part to be measured. Any dust or debris may affect the accuracy.
Never use the micrometer to measure abrasive or rough surfaces, as this can damage the precision surfaces of the anvils.
During measurement, always rotate the micrometer screw using the ratchet cap to ensure the correct, consistent measuring force is applied.
You should hear a “clicking” sound—this indicates that the correct pressure has been reached, and the reading can be taken.
Avoid applying unequal pressure, as it may cause significant measurement errors.
Make sure the micrometer screw is aligned in the same direction as the size being measured.
For example, when measuring an outer diameter, the micrometer screw should be perpendicular to the axis of the part and must not be tilted.
While measuring, it helps to gently rotate the measuring tool while slightly shaking the micrometer frame to ensure good contact between the anvils and the part.
It is best to take the reading before removing the part, while the micrometer is still in place.
If the part must be removed before reading, lock the micrometer screw first, then gently slide out the part to avoid damaging the anvils.
When reading the measured value, be cautious not to misread the thimble by 0.5 mm.
Also, avoid measuring parts that are excessively hot, as temperature differences can cause reading errors.


دیدگاهها
هیچ دیدگاهی برای این محصول نوشته نشده است.